
Unity’s Spotlight team in the UK was in charge of the quality of the environment and lighting, to ensure the car appeared in the best possible light, literally.
This article will explain in more detail how I set up HDRP in the context of this automotive scenario, and how physically-correct lighting and camera setups can help you to reach an impressive level of visual fidelity for high-end visualizations made with Unity.
Software and data
The demo used an early build of Unity 2019.3 in conjunction with HDRP 7.1.x. The car materials rely on Unity’s extensive Library of Measured Materials which offers, among many others, a realistic car paint shader with metal flakes. The environment uses the standard HDRP Lit shader. Important mention: for this demo, HDRP’s Ray-Tracing capabilities were not utilized because they were still in early preview at the time.
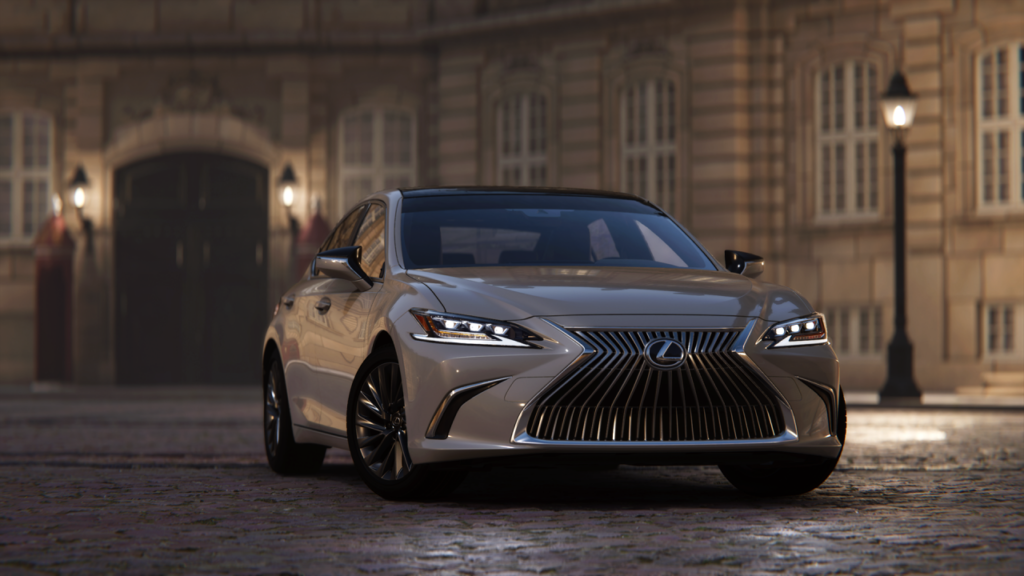
The extremely detailed pre-tessellated car model was provided by the manufacturer. The outsourcing studio elite3d entirely modeled and textured the Amalienborg Palace to a high standard, using software such as Maya (primarily for asset exports), 3ds Max (hard surface modeling), Zbrush (sculpting on top of scanned data provided by Domeble), as well as Substance tools (material creation and painting), and Marmoset Toolbag (baking). Finally, Unity’s Spotlight team created the lighting for the environment, applied all the materials to the hundreds of car parts, and ensured the quality of the visuals was optimal.
Unlike many other automotive configurators, we did not use a static dome or a backplate for the environment: instead, the entire courtyard is modeled in 3D. The car can thus be placed wherever needed and the lighting and time of day can be changed at will. Indeed, one of the major drawbacks of static HDRIs, domes or backplates is that their lighting and perspective are fixed due to the way they are intrinsically captured: with a fixed perspective and lighting. For this reason, they offer little flexibility and impose very strong restrictions on the lighting, and the ability to move the subject and the camera away from the original capture point. As you can see in the following animation, a fully modeled environment is significantly more flexible.